Registering a certificate in the certificate store
By eidias on (tags: certificate, categories: infrastructure)This is another bit that will be helpful with our next tfs build script modification.
To use a certificate for either strong naming or signing code, you need to place it in the certificate store of the user asking for it (e.g. if you’re executing an automated build, the user in whose context the build is executed)
To place the certificate in the store follow these steps:
- win+r and type in “mmc” – this will open the management console
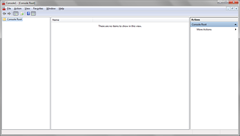
- Press ctrl+m or select File –> “Add/Remove snap-in”
and select “Certificates” from the left panel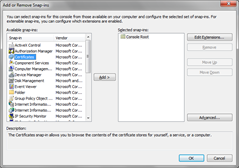
Then click “Add” - Select “My user account”
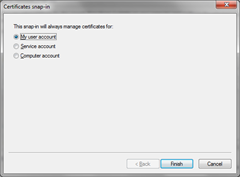
and click “Finish” - The snap-in is selected. Press “OK”
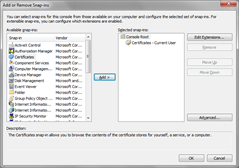
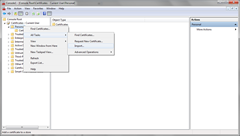
- Expand the tree on the left and right click on “Personal” node. Then select “All tasks” –> “Import…”
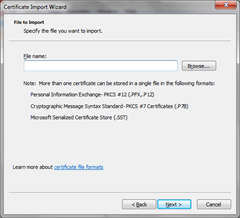
A wizard will appear - Select “Next” and then specify the certificate file you want to import and click “Next”
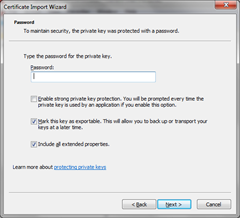
- Provide a password (if your certificate has one) – leave the “Enable strong private key protection…” option unchecked, and select the “Mark key as exportable…” (this may come in handy at some point). Check the “Include all extended properties” and press “Next”
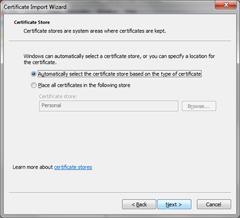
- Select “Automatically select the certificate store based on the type of certificate” and press “Next”
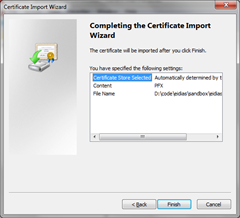
- Press finish in the next screen and you’re done
The certificate is now in your certificate store and can be used where needed.
Cheers

 back
back